Setting up a Raspberry Pi firewall is an excellent way to secure your home or office network. With its affordability and versatility, the Raspberry Pi can be transformed into a powerful network security tool. Whether you're a tech enthusiast or a small business owner, this tutorial will guide you through the process of turning your Raspberry Pi into a robust firewall that protects your data and devices.
As cyber threats continue to evolve, having a dedicated firewall has become increasingly important. Traditional firewalls can be expensive, but with a Raspberry Pi, you can create a cost-effective solution that offers enterprise-level protection. This guide will walk you through the entire process, from initial setup to advanced configuration.
In this article, we'll explore everything you need to know about setting up a Raspberry Pi firewall. We'll cover the necessary hardware and software requirements, step-by-step installation instructions, and advanced configuration options. By the end of this tutorial, you'll have a fully functional firewall that enhances your network security.
Read also:Unveiling The Truth Is Laura Ingraham Gay
Table of Contents
- Introduction to Raspberry Pi Firewall
- Hardware and Software Requirements
- Initial Setup and Configuration
- Installing Firewall Software
- Basic Firewall Configuration
- Advanced Firewall Settings
- Monitoring and Maintenance
- Common Issues and Troubleshooting
- Security Best Practices
- Conclusion and Next Steps
Introduction to Raspberry Pi Firewall
A firewall serves as the first line of defense in network security, monitoring and controlling incoming and outgoing network traffic based on predetermined security rules. The Raspberry Pi's compact size and powerful processing capabilities make it an ideal platform for creating a dedicated firewall device.
Using a Raspberry Pi as a firewall offers several advantages over traditional solutions. First, it's highly cost-effective, with the entire setup costing significantly less than commercial firewalls. Second, it's highly customizable, allowing you to tailor the firewall to your specific needs. Finally, it serves as an excellent learning tool for those interested in network security.
There are various firewall solutions available for Raspberry Pi, including IPFire, pfSense, and Untangle. Each has its own strengths and features, which we'll explore in detail later in this article.
Hardware and Software Requirements
Before we begin the installation process, let's examine the necessary components for setting up your Raspberry Pi firewall:
Hardware Requirements
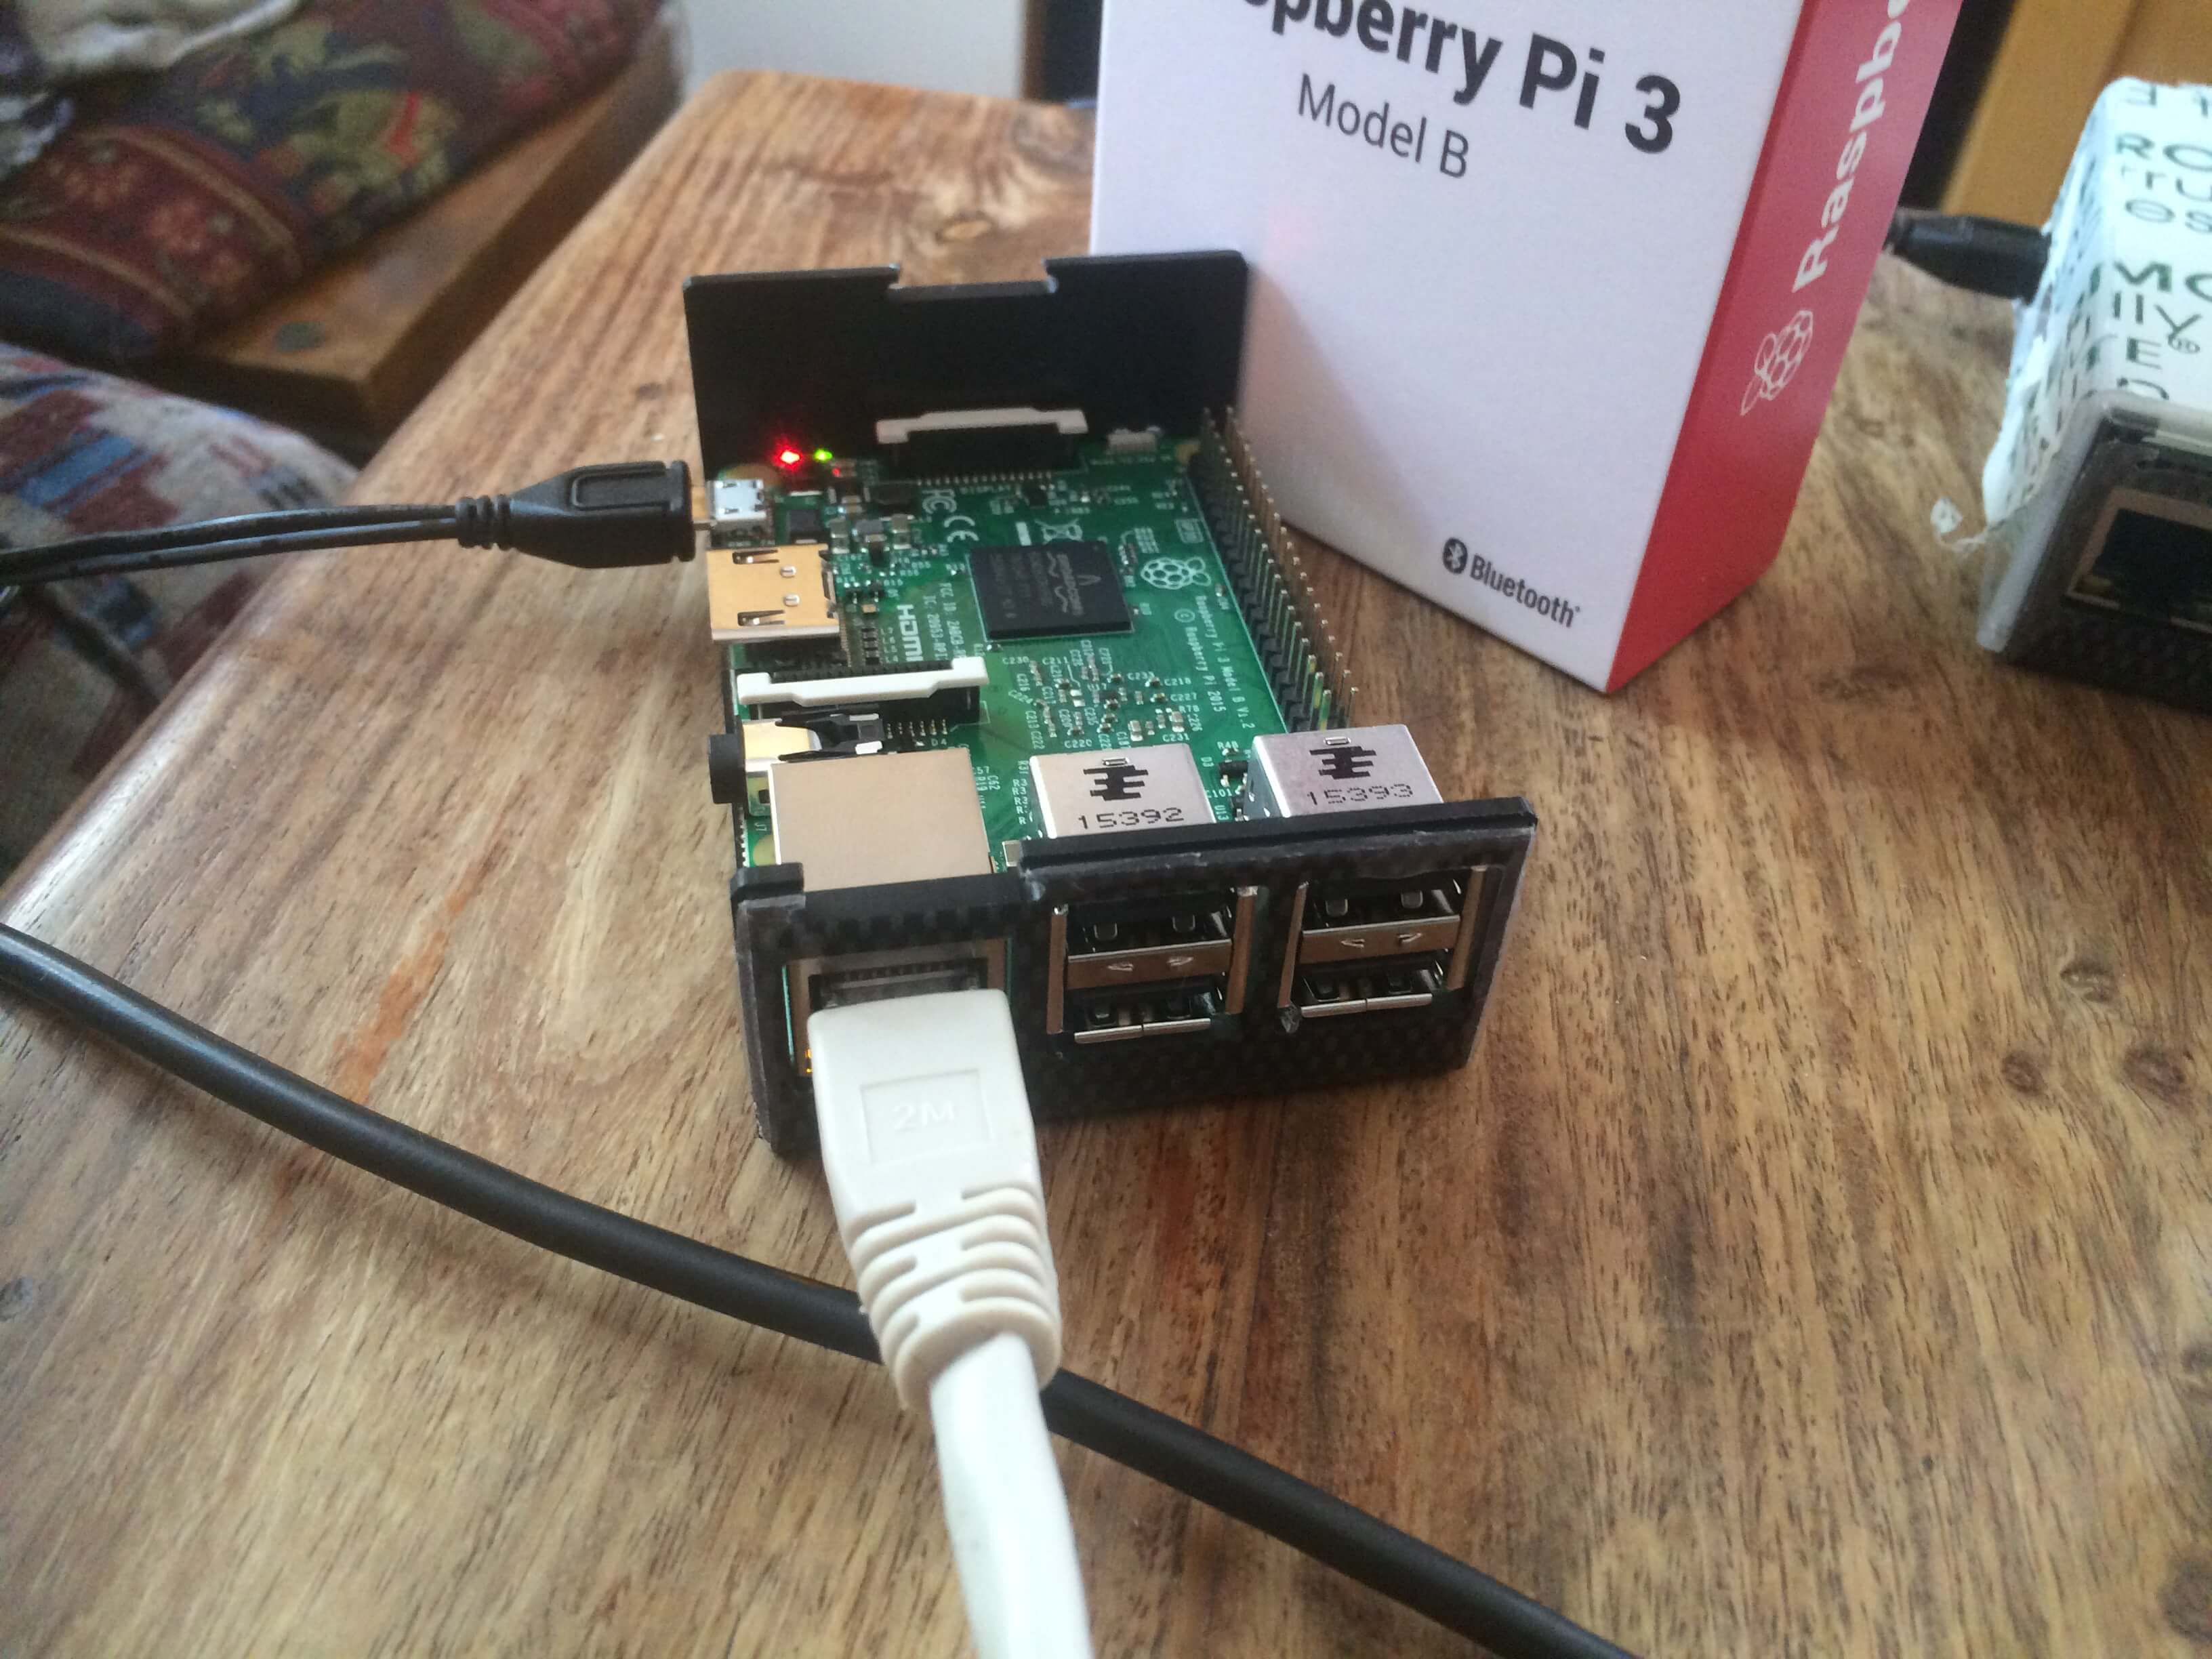
- Raspberry Pi model 3B+ or newer (recommended)
- MicroSD card (minimum 16GB)
- Power supply (official Raspberry Pi adapter recommended)
- Two network interface cards (built-in Ethernet + USB Ethernet adapter)
- Case for Raspberry Pi (optional but recommended)
- Heat sinks (optional but recommended for prolonged use)
Software Requirements
- Raspberry Pi OS (formerly Raspbian)
- Firewall software (IPFire, pfSense, or Untangle)
- SSH client (for remote management)
- Network monitoring tools (optional)
It's important to note that while older Raspberry Pi models can be used, newer models offer better performance and hardware support. The additional network interface is crucial for creating a proper firewall setup, as it allows for separate WAN and LAN connections.
Initial Setup and Configuration
The initial setup process involves preparing your Raspberry Pi for firewall installation. Follow these steps carefully:
Read also:Unveiling The Truth Behind Jonny Harris Illness A Comprehensive Analysis
Step 1: Prepare the MicroSD Card
- Download the latest version of Raspberry Pi OS from the official website.
- Use a tool like Raspberry Pi Imager to write the OS image to your MicroSD card.
- Create an empty file named "ssh" in the boot partition to enable SSH access.
- Configure Wi-Fi credentials by creating a "wpa_supplicant.conf" file if needed.
Step 2: Basic Configuration
- Boot up your Raspberry Pi and connect via SSH.
- Run "sudo raspi-config" to adjust basic settings.
- Change the default password and hostname.
- Update the system with "sudo apt update && sudo apt upgrade".
- Set up static IP addresses for both network interfaces.
During this phase, it's crucial to document all configuration changes and keep a backup of your initial setup. This will be invaluable for troubleshooting and future reference.
Installing Firewall Software
Now that your Raspberry Pi is properly configured, it's time to install the firewall software. We'll focus on IPFire, one of the most popular and reliable options:
IPFire Installation Process
- Download the latest IPFire image compatible with Raspberry Pi.
- Write the image to your MicroSD card using Etcher or a similar tool.
- Insert the card into your Raspberry Pi and connect both network interfaces.
- Power on the device and access the console via HDMI or serial connection.
- Follow the on-screen instructions to complete the installation.
- Set up basic network configuration during the installation process.
IPFire offers a user-friendly web interface that simplifies firewall management. After installation, you can access the web GUI by navigating to https://[IP_ADDRESS]:444 in your web browser.
Basic Firewall Configuration
Once your firewall software is installed, you can begin configuring the basic settings:
Network Interface Configuration
- Assign the red interface to your WAN connection.
- Assign the green interface to your LAN connection.
- Configure DHCP settings for your local network.
- Set up DNS forwarding for better performance.
Basic Security Rules
- Create rules to block common attack vectors.
- Set up port forwarding for essential services.
- Configure outbound rules to control internet access.
- Implement logging for security monitoring.
Remember to test your configuration thoroughly after making changes. Use tools like ping and traceroute to verify connectivity between network segments.
Advanced Firewall Settings
For those seeking enhanced security, consider implementing these advanced features:
Intrusion Detection and Prevention
- Install and configure Snort for real-time traffic analysis.
- Set up automatic rule updates for threat detection.
- Configure alert notifications for suspicious activity.
VPN Configuration
- Set up OpenVPN for secure remote access.
- Configure IPsec for site-to-site connections.
- Implement two-factor authentication for added security.
Quality of Service (QoS)
- Prioritize critical network traffic.
- Limit bandwidth for non-essential services.
- Implement traffic shaping rules.
These advanced features require careful planning and testing. Make sure to document all changes and maintain regular backups of your configuration.
Monitoring and Maintenance
Regular monitoring and maintenance are crucial for maintaining an effective firewall:
Monitoring Tools
- Use the built-in firewall logs to track traffic patterns.
- Implement network monitoring tools like Nagios or Zabbix.
- Set up alerts for unusual traffic patterns or security events.
Maintenance Tasks
- Regularly update firewall software and rulesets.
- Review and optimize firewall rules periodically.
- Perform regular backups of your configuration.
- Test failover mechanisms and disaster recovery plans.
Consider setting up a maintenance schedule to ensure consistent performance and security. This should include regular software updates, configuration reviews, and security audits.
Common Issues and Troubleshooting
Even with careful setup, you may encounter some common issues:
Connectivity Problems
- Check physical connections and LED indicators.
- Verify IP address assignments and subnet masks.
- Review firewall rules for potential blocking.
Performance Issues
- Monitor CPU and memory usage.
- Optimize firewall rules for efficiency.
- Consider upgrading to a more powerful Raspberry Pi model.
Security Alerts
- Investigate and respond to intrusion detection alerts.
- Regularly review security logs for suspicious activity.
- Implement additional security measures as needed.
Keep a detailed log of all issues and their resolutions. This will help you quickly address similar problems in the future and improve your overall setup.
Security Best Practices
To ensure maximum security, follow these best practices:
Physical Security
- Keep your Raspberry Pi in a secure location.
- Use tamper-evident seals if necessary.
- Implement physical access controls.
Software Security
- Regularly update all software components.
- Use strong, unique passwords for all accounts.
- Implement multi-factor authentication where possible.
Network Security
- Segment your network for better isolation.
- Implement strict access control policies.
- Regularly review and update security policies.
Remember that security is an ongoing process. Stay informed about emerging threats and update your defenses accordingly.
Conclusion and Next Steps
Setting up a Raspberry Pi firewall is a rewarding project that enhances your network security while providing valuable learning opportunities. Throughout this guide, we've covered everything from initial setup to advanced configuration, giving you the tools to create a robust firewall solution.
Remember that network security is an ongoing process. Regularly review your firewall rules, update your software, and stay informed about emerging threats. Consider expanding your setup with additional security features as your needs grow.
We encourage you to share your experiences and ask questions in the comments below. If you found this guide helpful, please share it with others who might benefit from it. For more in-depth information, check out our other articles on network security and Raspberry Pi projects.
Now that you've completed this tutorial, you're well-equipped to protect your network with a Raspberry Pi firewall. Take the next step by exploring additional security features and customizations to further enhance your setup.