Are you looking for a reliable way to remotely access your Raspberry Pi over the internet? Secure Shell (SSH) is the perfect solution to manage your device from anywhere in the world. Whether you're a hobbyist, developer, or IT professional, remotely accessing your Raspberry Pi can open up a world of possibilities. From managing servers to automating tasks, SSH provides a secure and efficient way to interact with your device. In this guide, we will walk you through everything you need to know about setting up and using SSH to connect to your Raspberry Pi remotely.
Remote access is not just a convenience; it's a necessity in today's connected world. Imagine being able to troubleshoot issues, update software, or even run scripts on your Raspberry Pi without being physically present. With SSH, all of this becomes possible. However, setting up SSH over the internet requires careful planning and execution to ensure security and reliability. This guide will cover the essential steps, best practices, and troubleshooting tips to help you get started.
In the following sections, we will explore the technical details of SSH, the prerequisites for setting it up, and step-by-step instructions for configuring your Raspberry Pi for remote access. We'll also discuss potential risks and how to mitigate them, ensuring that your connection remains secure. By the end of this article, you'll have the knowledge and tools to confidently manage your Raspberry Pi from anywhere in the world.
Read also:Sone436
Table of Contents
- What is SSH and Why Use It?
- Prerequisites for Remote SSH Access
- How to Enable SSH on Raspberry Pi
- Configuring Your Router for Remote Access
- Setting Up Port Forwarding
- Using Dynamic DNS for Remote Access
- Securing Your SSH Connection
- How to Connect to Your Raspberry Pi via SSH
- Troubleshooting Common Issues
- Conclusion and Next Steps
What is SSH and Why Use It?
SSH, or Secure Shell, is a cryptographic network protocol used for secure communication between two devices over an unsecured network. It is widely used for remote administration of systems, file transfers, and executing commands on remote machines. Unlike older protocols like Telnet, SSH encrypts all data transmitted between the client and server, making it a secure choice for managing devices like the Raspberry Pi.
Using SSH to remotely access your Raspberry Pi offers several advantages. First, it allows you to manage your device from anywhere with an internet connection. This is particularly useful for projects like home automation, remote monitoring, or hosting a personal server. Second, SSH provides a secure way to interact with your device, protecting your data from eavesdropping and unauthorized access. Finally, SSH is lightweight and efficient, making it ideal for devices with limited resources like the Raspberry Pi.
Why Choose SSH Over Other Protocols?
- Security: SSH encrypts all data, ensuring that your connection is secure.
- Efficiency: SSH is lightweight and does not consume excessive bandwidth or system resources.
- Versatility: SSH can be used for various tasks, including remote command execution, file transfers, and tunneling.
Prerequisites for Remote SSH Access
Before you can remotely SSH into your Raspberry Pi, there are a few prerequisites you need to address. Ensuring that your setup meets these requirements will make the process smoother and more secure.
Hardware and Software Requirements
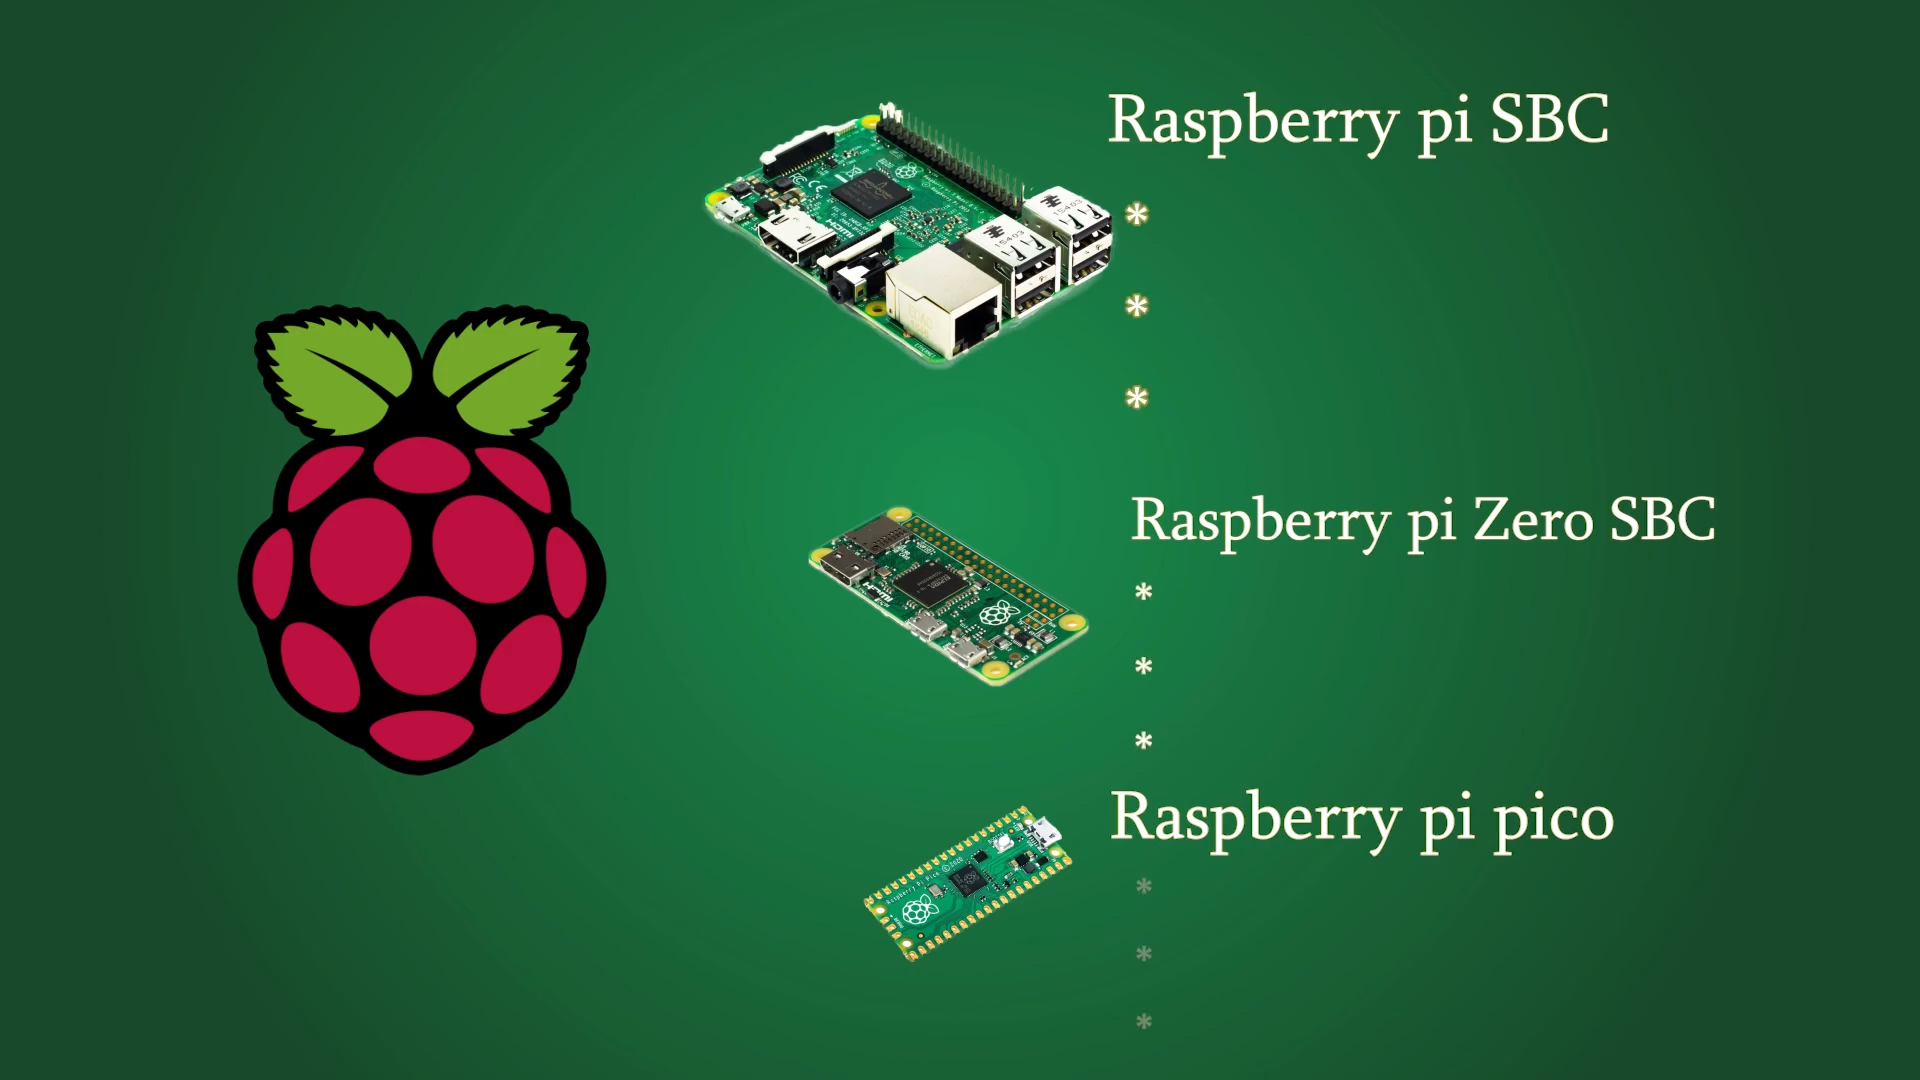
- Raspberry Pi: Any model with internet connectivity (Raspberry Pi 3 or later is recommended).
- Operating System: Raspberry Pi OS (formerly Raspbian) or any compatible Linux distribution.
- Internet Connection: A stable internet connection for both the Raspberry Pi and your client device.
- SSH Client: Software like PuTTY (Windows) or Terminal (macOS/Linux).
Basic Networking Knowledge
Understanding basic networking concepts such as IP addresses, ports, and routers is essential. You should also be familiar with your router's admin interface, as you'll need to configure port forwarding and possibly set up a Dynamic DNS service.
How to Enable SSH on Raspberry Pi
By default, SSH is disabled on Raspberry Pi OS for security reasons. You'll need to enable it before you can connect remotely. Here's how to do it:
Using the Raspberry Pi Desktop
- Open the Raspberry Pi Configuration tool from the main menu.
- Navigate to the Interfaces tab.
- Enable SSH by selecting the appropriate option.
- Click OK to save the changes.
Using the Terminal
If you prefer the command line, you can enable SSH by running the following command:
Read also:Kat Timpf Due Date 2025 A Comprehensive Guide
sudo raspi-configThen, navigate to Interfacing Options > SSH > Yes to enable it.
Configuring Your Router for Remote Access
To access your Raspberry Pi over the internet, you need to configure your router to allow external connections. This involves setting up port forwarding and possibly using a Dynamic DNS service.
Accessing Your Router's Admin Interface
Most routers can be accessed via a web browser by entering the router's IP address (e.g., 192.168.1.1). You'll need the admin username and password, which are often printed on the router or available in the documentation.
Setting Up Port Forwarding
Port forwarding allows external devices to connect to your Raspberry Pi by routing traffic from a specific port on your router to the Raspberry Pi's local IP address.
Steps to Set Up Port Forwarding
- Log in to your router's admin interface.
- Navigate to the Port Forwarding section.
- Create a new rule for port 22 (the default SSH port).
- Set the internal IP address of your Raspberry Pi as the destination.
- Save the changes and restart the router if necessary.
Note: For added security, consider using a non-standard port instead of port 22.
Using Dynamic DNS for Remote Access
If your internet service provider assigns a dynamic IP address, you'll need a Dynamic DNS (DDNS) service to map a domain name to your changing IP address.
Popular DDNS Services
- No-IP
- DuckDNS
- Cloudflare
Setting Up DDNS
Sign up for a DDNS service, configure it with your router (if supported), or install a client on your Raspberry Pi to update the DDNS record automatically.
Securing Your SSH Connection
While SSH is inherently secure, additional measures can further protect your Raspberry Pi from unauthorized access.
Use Strong Passwords
Ensure that your Raspberry Pi has a strong, unique password. Avoid using default credentials like "pi" and "raspberry."
Disable Password Authentication
For enhanced security, disable password authentication and use SSH keys instead. This prevents brute-force attacks.
Change the Default SSH Port
Changing the default SSH port (22) to a non-standard port reduces the risk of automated attacks.
How to Connect to Your Raspberry Pi via SSH
Once everything is set up, you can connect to your Raspberry Pi from any device with an SSH client.
Using Terminal (macOS/Linux)
ssh pi@your-domain-or-ip -p port-numberUsing PuTTY (Windows)
- Open PuTTY and enter your domain or IP address.
- Specify the port number if it's not 22.
- Click Open and enter your credentials when prompted.
Troubleshooting Common Issues
Even with careful setup, issues can arise. Here are some common problems and their solutions:
Connection Refused
- Ensure SSH is enabled on the Raspberry Pi.
- Verify that port forwarding is correctly configured.
- Check your firewall settings.
Incorrect Credentials
- Double-check your username and password.
- If using SSH keys, ensure the key is correctly configured.
Conclusion and Next Steps
Remotely accessing your Raspberry Pi over the internet using SSH is a powerful way to manage your device from anywhere. By following the steps outlined in this guide, you can set up a secure and reliable connection that meets your needs. Remember to prioritize security by using strong passwords, disabling unnecessary services, and keeping your system updated.
Now that you have the tools and knowledge to remotely SSH into your Raspberry Pi, why not explore its potential further? Whether you're building a home automation system, hosting a web server, or experimenting with IoT projects, SSH will be an invaluable tool in your toolkit. Share your experiences in the comments below, and don't hesitate to reach out if you have any questions!